Link to itch.io page: Mana Seed Character Animator
When i decided to use the ManaSeed Base Character for the MonsterBreeder Game the huge amount of available Animations flashed me.
I created a unity editor for creating, reworking and testing the animations of the base character. Not all are included
Since i wanted to keep the layered structure of the asset to be able to keep using it if there would be a new version i wanted to solve the creation of the animations through script.
I think the system i developed may be helpful for more people out there, thinking that they want to use the character base.
After some prework, i will describe here, you will get this after creating the animations and reworking the animation controller:
After importing the Package you will find the following structure in your Assets-Folder:
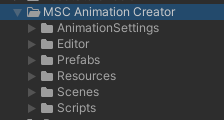
It contains the Editor Scripts as well as a Player Prefab and a SampleScene showing in the video above.
Unter „AnimationSettings“ reside the ScriptableObjects containing the animation definitions wich you can adjust for you.
For starters the definitions of the base char are included… others for other animations may come in later versions.
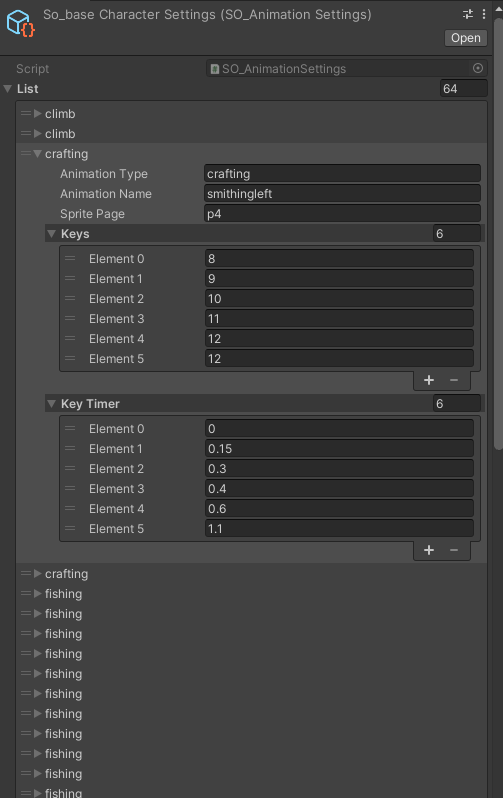
You can adjust the settings for each animation inside the scriptable object.
Ideas behind my Animation Concept
Since i want to use base-Textures for my animations and „just“ swap them out to create the effect of being able to change the outfit of the character at runtime all the animations are based on one set of Textures. These are copies of the original textures, do not use the original textures (png files) for the sprite-base of the animation.
The System will use the original Images as source and copy them into the ones that are used in the animations (an example is included in the player script i provide)
Preserving the orignal layered structure later added outfits and stuff only need to be integrated into the swapping system and thats all.
Another benefit is that you only need to slice the spritesheets in this player-sprite-base-folder and not throughout all the ones inside the original files
Version 1.2
I simplified the way you can use the animator… the „old“ way should still work, but for the new way use this tutorial:
MSCA How to use the presliced sprites
Version 1.0
Preparations
To get the Character Animator to work propertly you will need to make some prework.
- You will need to buy the Character Base Asset mentioned above and place it under the Resources Folder inside your Assets Folder (You may need to create the Resources Folder)
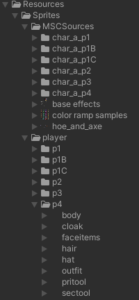
- Create another folder inside the Resources folder to place the following structure into it:
one folder for each page with spritesheets provided by the original
inside each page-folder copy one spritesheet from the corresponding folder in the original (body are based in the base folder in original) and name them accordingly to the animation layers (body, cloak, faceitems, hair, hat, outfit, pritool, sectool) (you should always take the same color / style for each layer and page to not get confusing animations)
These need to correspond inside the MSC-Animator Window:
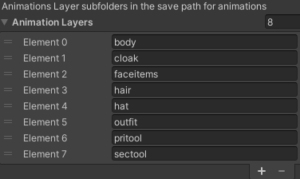
I would advise to keep the names, since the animations in the provided Animation Controller are coded to these names - After this you’ll need to slice the spritesheets inside the created folder structure
All the sprites (except page 3 sprites) are sliced with these same settings, mine are:
Page 3 takes a bit more work:- slice all with w 64 and h 128 (Method: delete existing)
- delete row 3 and 4
- slice again with w 128 and h 64 (Method: safe)
- delete 1st sprite of row 3, last frame of row four, 1st frame of row five and last frame of last row
- slive again with w64 and h 64 (Method: safe)
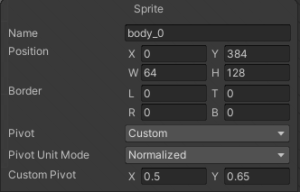
- Set the custom pivot for the
first row:

second row:
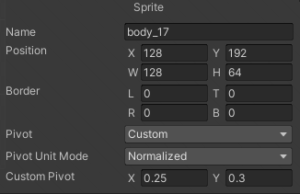
wide sprites in row three and four:
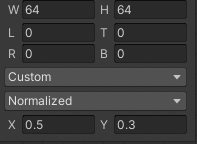
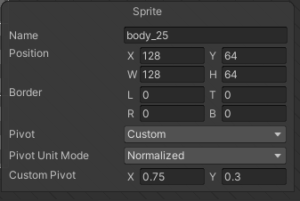
wide sprites in row five and six:
smal sprites 64 x 64 are with custom pivod: x 0.5 and y 0.3
you’ll need to do that for all the spritesheets in this folder. - Please Remeber: ALL the spritesheets need to be sliced, even the „empty“ ones… and you need to have even an empty one for each layer
- I added a folder „pre_sliced_sprites“ to the Resources folder of the package. Where all the layers in the pages are empty but presliced. When you exchange the png files outside of unity with the ones you want to use for the „filled“ sprites, unity should keep the sliced parts.
- That’s it for now
I provided an animation controller for each layer.
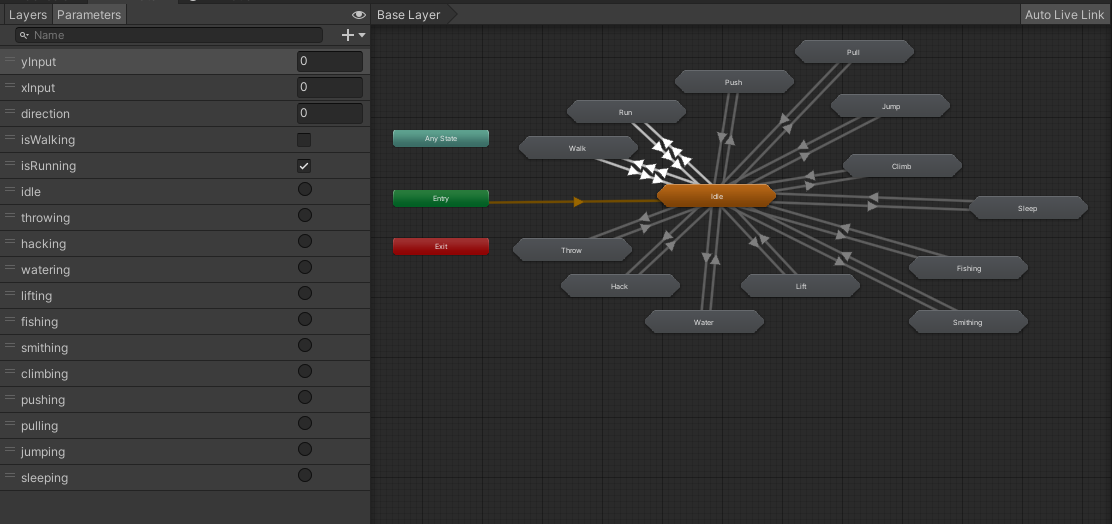
it covers all the animations in the scriptable object so far and has triggers for each type … you can trigger them in the sample scene with the buttons.
When you want to change the animation controller you don’t need to change all of them, just change the one on the first animation layer (body for me) and when you push the „Rework Animation Controller“ Button later in the Editor-Window it will use this one as blueprint for all the other animController. NOTE: You will need to reassign the animation controller to each layer in the player object after refactoring since it deletes the old animcontroller (except the base one) and recreates them
The Editor Window
You can access it through the Tools-Menu in the Unity Menu Bar
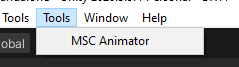
It will then show you the window
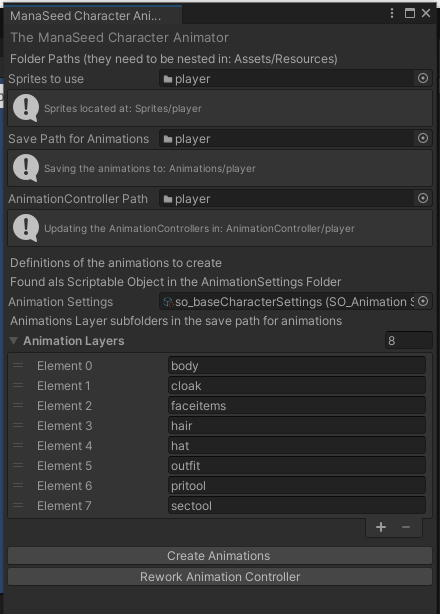
To use it, you need to :
- drag the folder with your sprite structure you created into the „Sprites to use“ field
- drag the folder that should store the animations inside (i provided the animations in the Resources/Animations/player folder inside the package folder, use this if you don’t want to create a new set)
- drag the folder that should store the animationController inside (i provided a set in the Resources/AnimationController/player folder inside the package folder, use this if you don’t want to create a new set) If there is no animation controller found it should create one with all the animations as state in it
- drag the scriptable object provided inside the animationsSettings folder into the „Animation Settings“ field. You can create your own scriptable object asset to use if you don’t want to use minde
- change the animation layers if needed (i don’t recommend that)
- click „Create Animations“ (may take some time)
- click „Rework Animation Controller“
You can start the Sample Scene now and test the animations!